What Causes Bathroom Wall Panels to Leak and How to Prevent It
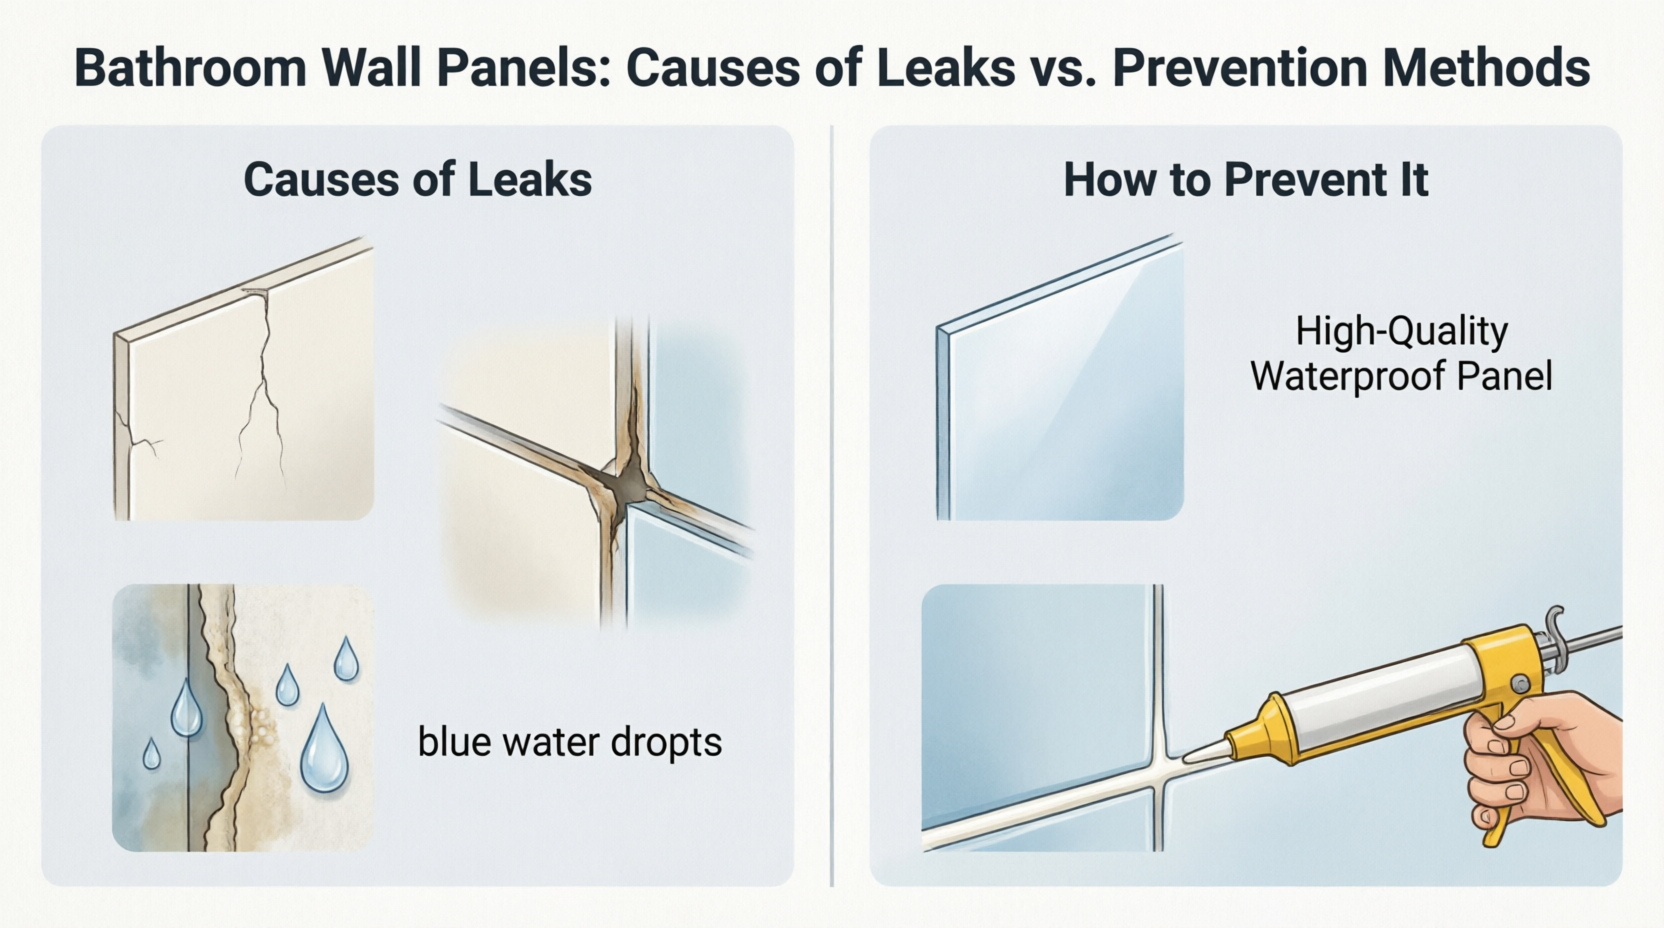
A leak behind a bathroom wall panel is rarely the panel's fault: the sheets themselves are usually waterproof. What fails is almost always something around them: a join, a seal, a hole cut for a pipe or the surface they were fixed to. Water travels, so the damp patch you see on a landing ceiling or a bedroom wall may be some distance from the source.
This article explains the common causes in the order they tend to appear, how to tell a genuine leak from condensation and what to do at installation stage to avoid the problem.
Panels Are Waterproof, Installations Are Not Always
A good-quality PVC, laminate or composite panel does not absorb water, but the weak points are the places where one surface meets another: panels to panels, the panel to the tray, the panel to the bath, and the panel to anything that passes through it (such as a shower valve). Each of those junctions relies on a trim, a sealant or tight fitting, and each is a place where water can get in if the detail is wrong or has aged.
That is why two bathrooms fitted with the same product can perform very differently: the quality of preparation and finishing usually matters more than the brand on the box.
The Most Common Causes of Leaks
Failed or poorly applied sealant
Silicone is the first line of defence at the edges, and it is the most frequent culprit. It can fail in several ways: it was applied to a damp, dusty surface and never bonded; it was applied too thinly; it has shrunk or split as the building moves; or it has gone mouldy and lifted at the edges. Sealant in a shower generally has a finite life, and how long it lasts depends on the product, the usage of the room and how well it is looked after.
A bath is a particular trouble spot: a bath filled with water sits lower than an empty one, and the sealant joint opens and closes every time. A joint that looks perfect when the bath is empty can gape when it is full.
Gaps at joints between panels
Panels that are joined with a proper jointing system, such as tongue and groove or a dedicated trim, are designed to shed water. Problems arise when joints are cut badly, left with gaps or forced together so that the edge lifts. In the shower itself, a joint that does not sit flush gives water a path to follow behind the panel, and a small amount of moisture getting through repeatedly will cause more damage than one dramatic splash.
Unsealed holes for pipes, valves and fittings
Every hole cut for a shower valve, outlet, rail bracket or pipe is a potential entry point. A hole that is cut oversize, or that has no sealant around it, can let water run straight into the wall. Brackets and fixings screwed through the panel carry the same risk, and these are often overlooked because they are small.
Water getting behind the edges at the tray or bath
Where a panel meets a shower tray, the panel should overlap the tray lip or sit within a sealed channel so that water runs down the surface and into the tray. If the panel stops short, sits on top of the tray edge or the gap is filled with sealant alone, water can bypass it. This is one of the most common causes of damp patches appearing on the ceiling below a bathroom.
Movement in the building or the tray
Timber floors flex, new houses settle and a shower tray can drop slightly if it was not supported properly. Rigid sealant cannot follow that movement for long, and a hairline crack at the tray junction is enough to let water through. If you see the same joint cracking repeatedly, the cause is probably structural rather than a poor sealant job.
Damp or unsuitable walls behind the panels
Panels fixed to a wall that was already damp can trap that moisture, and adhesive often performs poorly on a surface that is flaking, dusty or uneven. In older properties with solid walls, penetrating or rising damp can mimic a leak altogether. Treat the wall properly before covering it.
Is It a Leak or Condensation?
Not every wet bathroom problem is a leak: condensation can run down panels, gather on ceilings and cause mould in corners, particularly in rooms with weak ventilation. A few signs help tell them apart:
Condensation tends to appear after hot showers and clears as the room dries. A leak keeps getting worse or may persist even when the shower has not been used.
Condensation shows on cold surfaces such as external walls and ceilings. A leak often shows near the source: below the tray, around the valve or beside a joint.
Staining and swelling in an adjacent room or on a ceiling below suggest water is getting through, rather than misting up.
If you are unsure, a simple test is to run the shower for a few minutes with a towel or paper placed at the suspect joint, then check for moisture while keeping the rest of the room ventilated. If the problem is persistent or you cannot find the source, a plumber or a damp specialist can investigate without guesswork.
How to Prevent Leaks at Installation Stage
Most prevention happens before the first panel goes on: take time on these points:
Prepare the surface. Walls should be sound, clean, dry and flat. Loose plaster, flaking paint and dust all weaken adhesion.
Choose the right system for a wet area. Panels designed for showers are made with this in mind. If you are comparing options for the shower enclosure, a range of shower panels will usually come with matching trims and jointing, which reduces the number of places where a joint can fail.
Cut carefully. Measure holes for valves and outlets precisely, leaving only the clearance that the fitting needs. Neat cuts are easier to seal and hold up better.
Fill the bath before sealing. Where panels meet a bath, filling it with water first lets the bath sit at its working position, and the sealant is less likely to split later.
Use the right sealant. A sanitary silicone intended for bathrooms, applied to a clean, dry joint, is the usual choice. Check the manufacturer's guidance, because some panel systems specify particular products.
Allow sealant to cure. Resist using the shower early. The cure time will be on the cartridge, and it is worth following.
Check the panel overlaps the tray. The panel edge should direct water into the tray, not behind it.
Where your wall is uneven or you are fixing into an older property, a backing board or batten system may be needed so that the panels sit flat and fully supported.
Ventilation and Everyday Habits
A well-fitted panel installation can still struggle in a room where steam has nowhere to go. A working extractor fan, ideally one that runs on after the shower is switched off, reduces the amount of moisture that settles on surfaces. Leaving the door ajar afterwards, wiping down the panels and squeegeeing the surface also help, and they make sealant last longer by keeping it free of mold.
Colour and finish choices can affect how quickly marks or water stains show on a panel, which is worth thinking about at the planning stage. If you want ideas on finishes as you plan the room, this overview of Wall Panel Trends covers what is being used in current bathrooms.
Routine Checks That Catch Problems Early
Small inspections catch most issues before they become damage: every few months, look at the sealant around the tray, bath and valve. Press lightly on the edge of each joint to check it is still bonded, and look for dark spots, splits or places where it has pulled away. Replace failing sealant promptly: remove the old bead fully, clean and dry the joint, then reapply. Applying new sealant over old rarely works.
Also look at the ceiling and walls in rooms below or beside the bathroom for stains, bubbling paint or a musty smell. These are often the first sign of a slow leak. Check the panels themselves for lifting edges, cracks or soft spots, particularly near the base, where water accumulates.
What to Do If a Leak Has Already Started
First, stop using the affected shower or bath until you know where the water is going. Dry the area thoroughly, and see whether it is a sealant failure that can be fixed straightforwardly. If the leak has been running for some time, the wall behind may be damp, and the panels may need to come off so that it can dry out and be inspected. Resealing over a wet wall tends to trap the problem.
If water has reached a ceiling or an adjoining room, or you cannot locate the source, a professional assessment is sensible. Whether the repair is covered by insurance depends on your policy and the cause, so check the terms before work begins.
A Practical Takeaway
Leaks in panelled bathrooms usually come down to a handful of details: the sealant, the joints, the holes cut for fittings and the junction with the tray or bath. Get those right at installation, keep the room ventilated and inspect the seals a few times a year. If you are planning a new space, such as a calm Spa-Style Bathroom, the design is worth working around the practical detailing, not the other way round.